Easy to resize lights
Adjust the size and shadow softness of lights without affecting their intensity. Change the size of instanced lights by changing just one.
 © Federico Fernandez & Andrea Montis
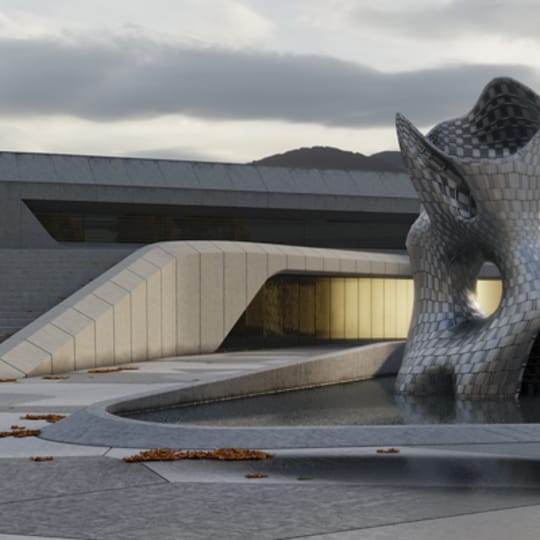 © Federico Fernandez & Andrea Montis
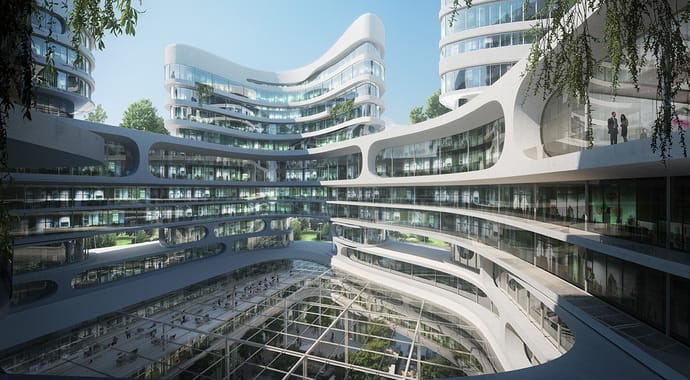 Flying Architecture © Zaha Hadid Architects
Maximum creative control, minimum effort.
Adjust the size and shadow softness of lights without affecting their intensity. Change the size of instanced lights by changing just one.
Get a more accurate preview of your materials in the Rhino viewport with improved reflections, refractions, bump maps and more.
V-Ray Batch is updated, making it easy to render snapshots from the same project or views from multiple Rhino files all at once. Note: Snapshot rendering is still an experimental feature.
A simple new UI makes it easy to create, edit and manage V-Ray objects like lights, section clippers and fur.
Use RhinoScript and Python to program V-Ray Next to do even more for you, like automating scene management or accessing parameters not shown in the UI.
Powerful capabilities that maximize value.
 © Robert Juchnevic
Now in Grasshopper, you can animate sunlight and cameras using the V-Ray timeline. Then it’s just a quick export back to Rhino for final rendering.
Animate and render parametric designs via the V-Ray timeline to explore conceptual or photorealistic versions of your models
Working with V-Ray Next in Grasshopper is simple. You hook up V-Ray components exactly the same as Grasshopper’s native ones. So it’s easy to get the results you’re looking for.
The new lighting analysis render element makes it easy to visualize and evaluate the real-world illumination levels of your Grasshopper scene.
Use real-world camera settings for aperture, shutter speed and ISO. Together with the sun and sky system, you’ll be able render your Grasshopper scene accurately for lighting analysis.
Create stylized lighting schemes to render non-realistic, stylized light. Use multiple directional light sources, for example, to demonstrate how light accumulates throughout the day.
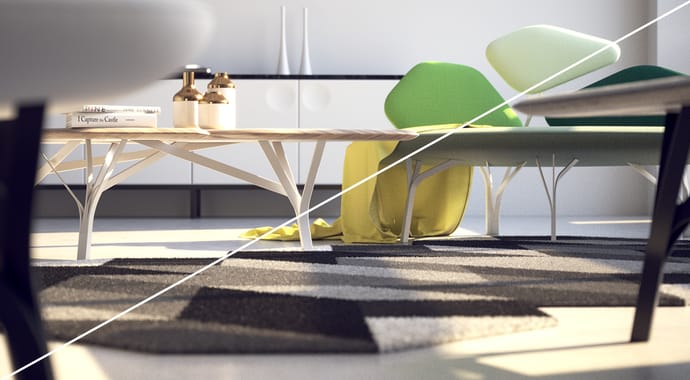
 © Federico Fernandez & Andrea Montis
Keep track of everything all in one place
Manage all of your assets including lights, materials, textures, geometry and render elements all in one place.
Manage assets of any type in an intuitive customizable folder structure. Quickly search through huge number of assets in either the built-in library or in any other library location.
Preview your materials, lights, textures and render elements in a single viewer. Observe how parameter changes affect the appearance of the asset in a specific isolated setting.
Select multiple scene or library assets as well as multiple toolbar filters to speed up your workflow.
Map multiple material parameters with the same source texture to simplify the shader structure and management.
Use either the Basic set of asset parameters or activate the Advanced mode to list all options.
Quickly create new assets in the Asset Editor from the footer. Create menu, outliner filter icons or form the library Create section.
Click less, render more with new and improved UI controls.
A new intuitive layout for the camera controls lets you manipulate the quick and advanced parameters at the same time.
A refined and updated UI makes render setup easier than ever.
Specify custom pixel resolutions without bothering with the aspect ratio.

Get the perfectly exposed image with automatic analysis of your scene .
Capture the perfect exposure every time. The new Auto Exposure and Auto White Balance camera controls make rendering as simple as point and shoot.
Render faster, cleaner and more accurate image-based lighting that’s up to 7x faster. The new Adaptive Dome Light also removes the need to set up Portal lights for interiors.
The new Lighting Analysis render element makes it easy to visualize the real-world illumination (Lux) values of any scene.
Faster renders across the board.
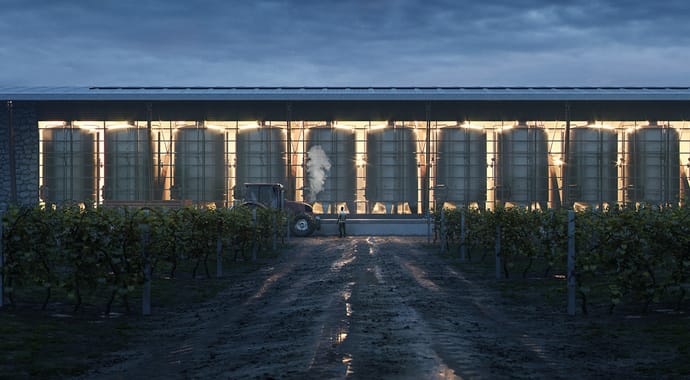
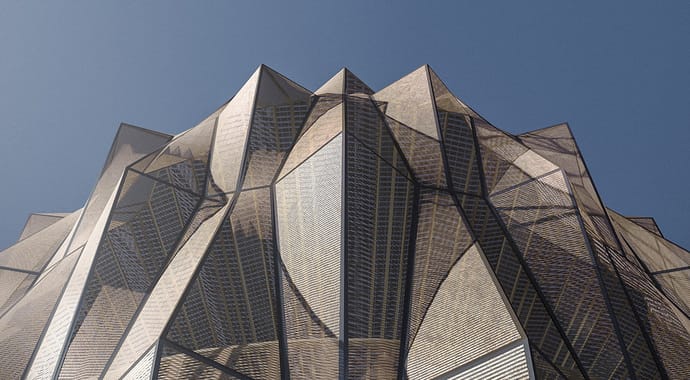 Flying Architecture © UNStudio
V-Ray Next has been optimized to render 50% faster overall — and up to 7x faster with the new Adaptive Dome Light.
Cuts rendering time in half again when using GPUs (as compared to V-Ray 3.6 for Rhino).
V-Ray materials have been fine-tuned for faster render speeds, improved GPU rendering, and Chaos Cloud compatibility.
Automatically analyzes your scene to optimize rendering so you get the best quality in less time.
Get cleaner renders in an instant.
With the new NVIDIA AI Denoiser, V-Ray delivers instant feedback with less noise. So you get cleaner images while you design.
Look at the denoised image while rendering in the Rhino viewport.
Denoise individual render elements for added control in compositing.